 Vellum Help
Full Page Image
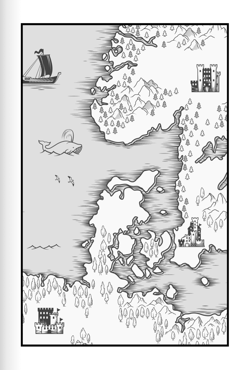
The Full Page Image element displays a single image on a page, such as a map at the beginning of your book:
It can be used for a variety of other applications, including a custom Title Page.
- Adding a Full Page Image
- Configuring the Image
- Bleed Region
- Side of Page Spread
- Table of Contents
- Examples
Adding a Full Page Image Element
To add a Full Page Image to your book, select Full Page Image from the menu in Chapter ▸ Add Element. More details about adding elements can be found in Elements of Your Book.
Note: A new Full Page Image element will be added to the end of your book. If you want it in the front, you can move it using drag-and-drop.
Configuring the Image
Before you select an image, Vellum will show guidance about the image size that will fill the available area (based on the size of your book and the options you’ve configured):

To choose your image, press the + button shown when hovering over the placeholder:
You can also add an image by dragging a file from the Finder and dropping it onto the placeholder image.
Image Feedback
After you add an image, Vellum will display feedback about how well your image meets the requirements for your use case:
If your image is too small, Vellum will warn you and provide a recommended size for your image:
If you’ve enabled Full Bleed, Vellum will check that your image matches the size of the page. If it doesn’t you may see a warning:
If you see this warning, your image may be high resolution, but too wide for content to reach the top and bottom of the page. To address this warning, you’ll want to resize your image (potentially cropping) so that it matches the recommended dimensions.
For help with this, you can make use of one of the available Full Bleed Image Templates.
Print Edition Size Controls
For your print edition, you have additional controls for how your Full Page Image appears on the page:
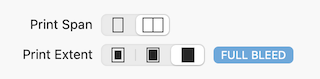
These controls do not affect ebooks.
Print Span specifies whether the image takes up a single page or spans an entire two-page spread.
Print Extent determines how much of the page is filled by the image:
- Margins
- Reaches the margins set in Print Settings
- Safe Zone
- Fills the page up to a small border at the edges
- Full Bleed
- Completely reaches the edge of the page, with no visible border
Accessibility Description
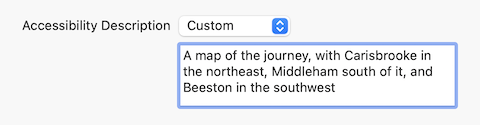
An Accessibility Description is text that is included with the image in your ebook edition, and used in situations when the image can’t be viewed, such as when the ebook is read aloud to someone with a visual impairment.
By default, Vellum will use the element’s title for descriptive text. If you’d like to provide your own description, including specifics about what is shown in the image, you can use the Custom option:
Bleed Region
When you enable Full Bleed, your image will extend beyond the page boundary into the bleed region. This region ensures your artwork reaches the edge of the page after it is trimmed.

Bleed region (indicated in pink) for an image on the right side of a spread
Because of this additional bleed region, using a full-bleed image will increase the dimensions of the PDF generated by Vellum. For example:
| Trim Size | 6 × 9 in |
|---|---|
| PDF Dimensions | 6⅛ × 9¼ in |
Side of Page Spread
By default, Full Page Image elements will appear on the right side of a page spread in your print edition. If you’d like to change this behavior, use the Begin On option in your element’s gear menu:
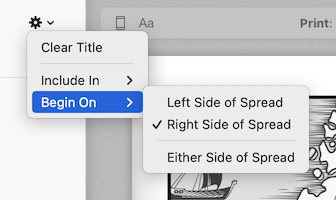
Unlike other elements, Full Page Images allow you to specify that your element appears on the Left Side of a spread. (If your image spans a spread, then this is the only option available.)
Table of Contents
Since a full page image is typically used for the front matter of your book, it will not be included in your Table of Contents. (As with all elements of your book, however, it will be listed in your ebook’s Logical TOC.)
Examples
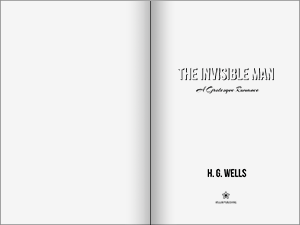
Custom Title Page image extending to Margins

Custom Title Page image using Full Bleed
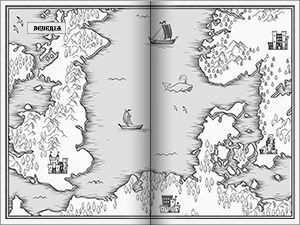
Map using a Spread extending to Safe Zone
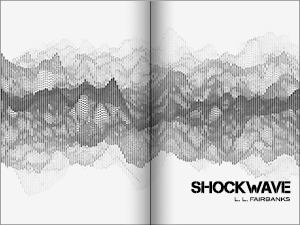
Custom Title Page Spread using Full Bleed